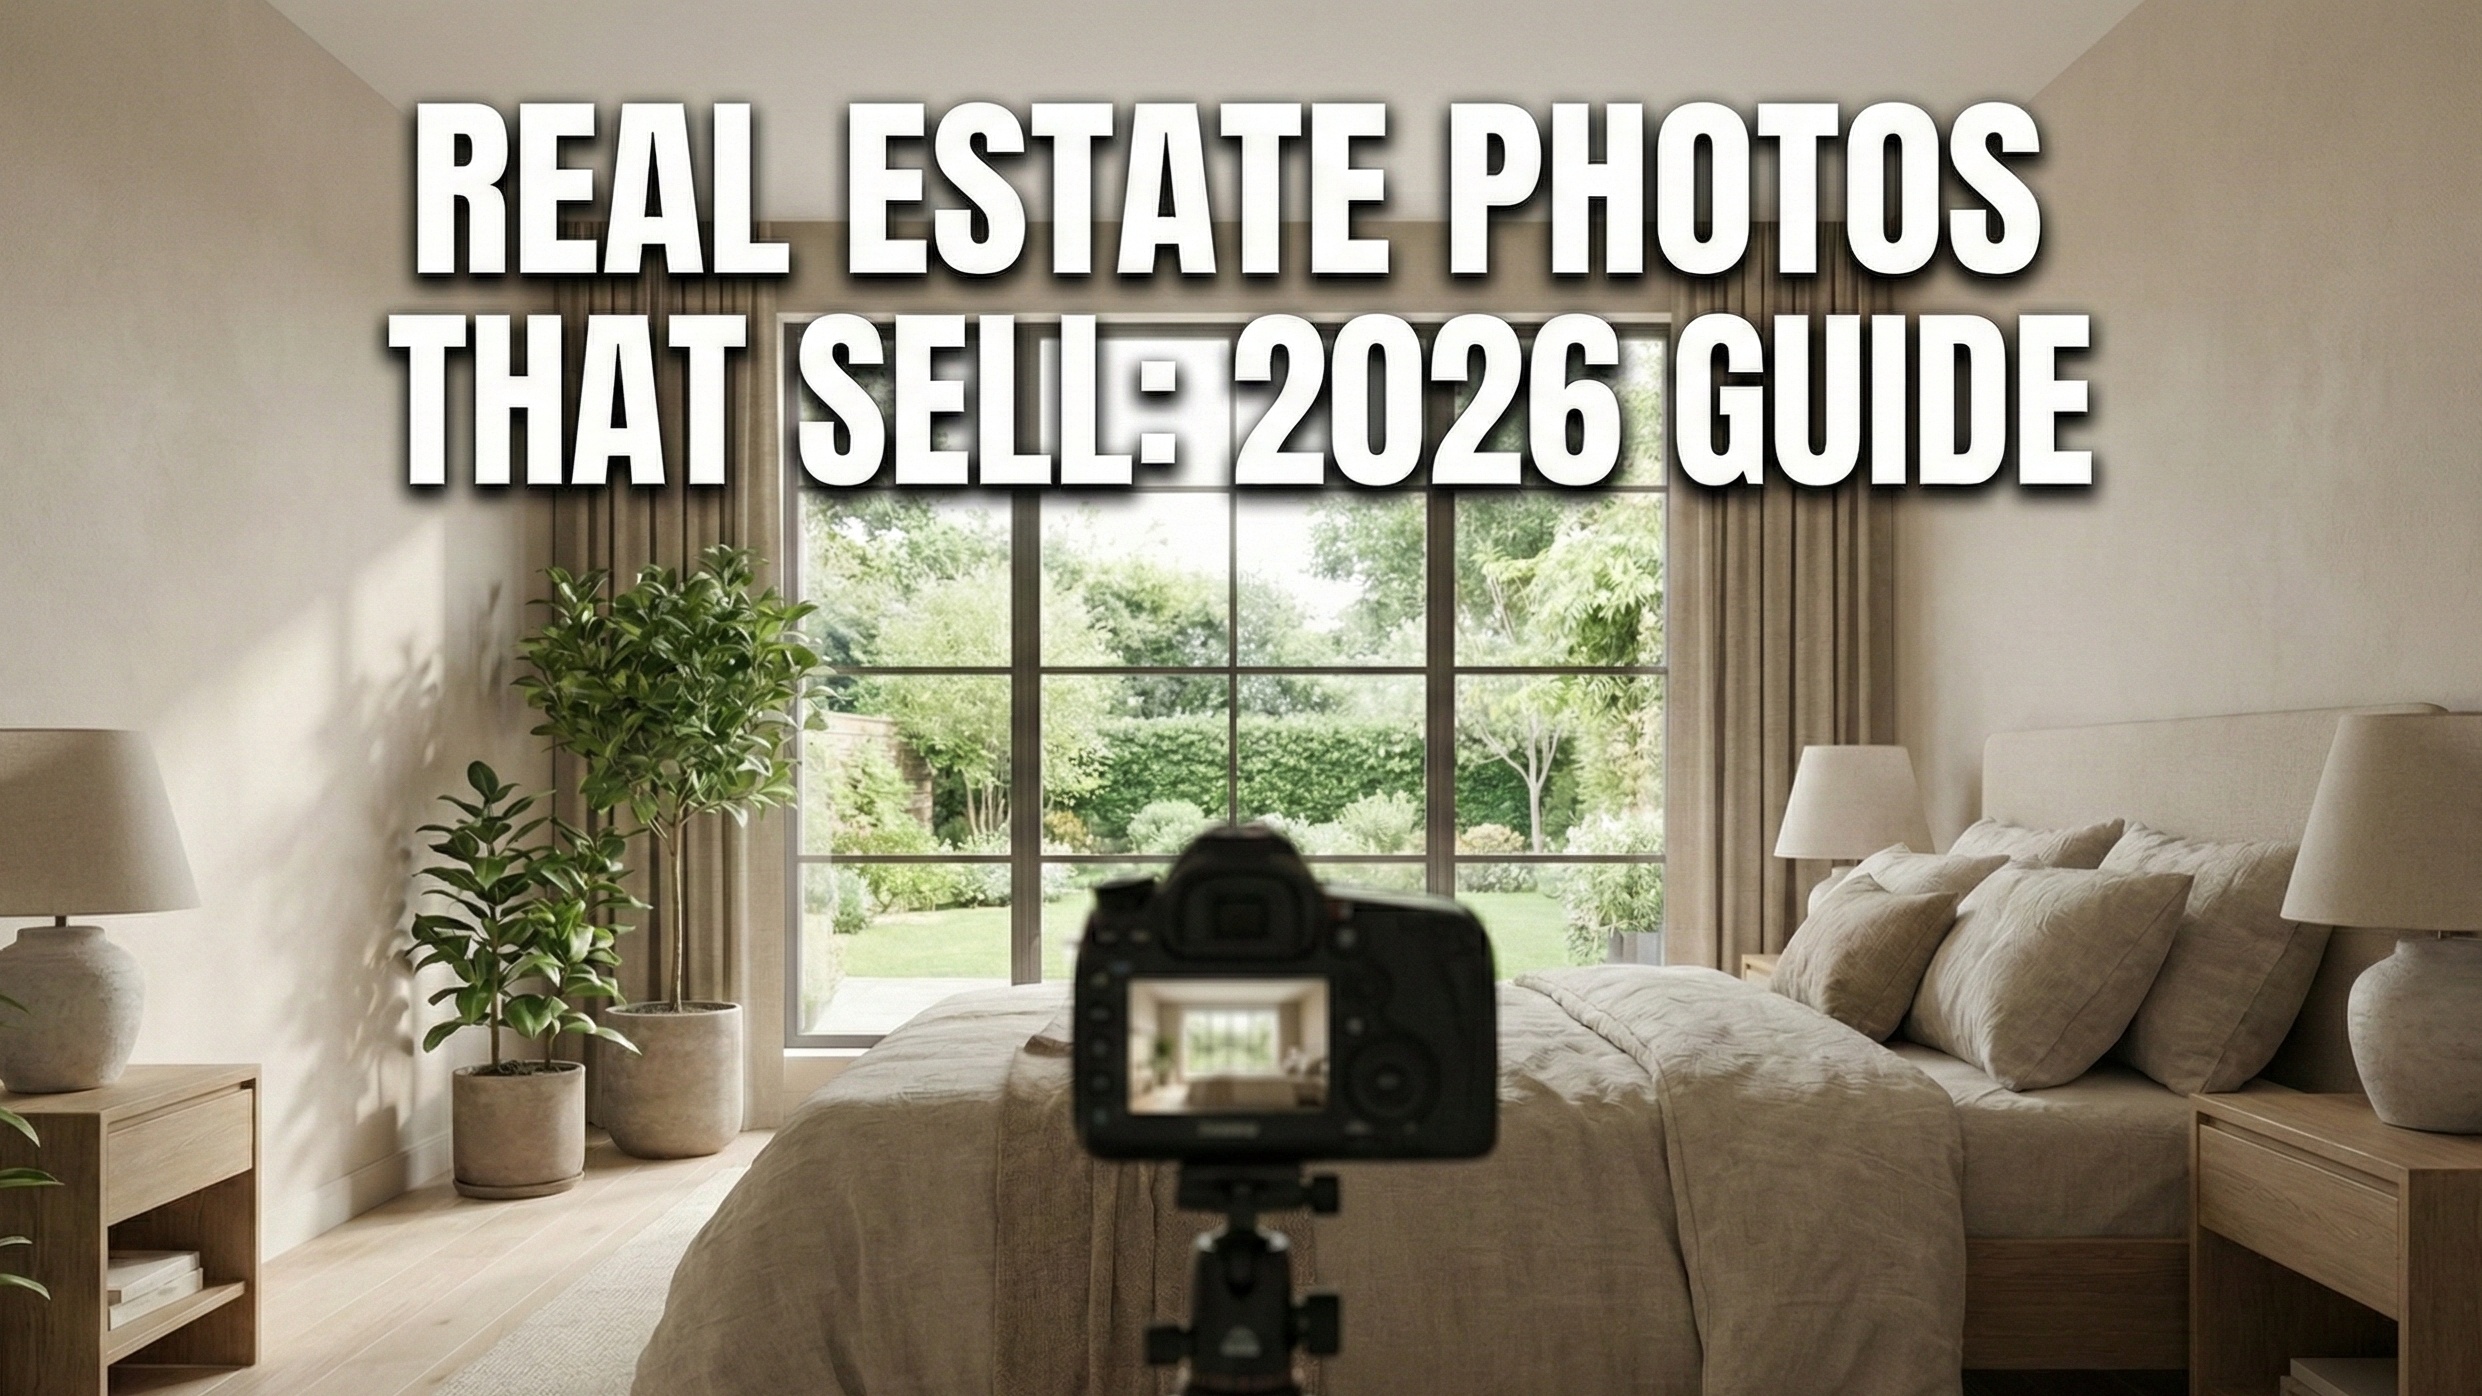
The 3-Second Rule
Let’s be honest: The first showing doesn't happen at the open house. It happens on a smartphone screen, likely while a buyer is waiting in line for coffee.
You have about three seconds to grab their attention. If your cover photo is dark, distorted, or cluttered, the buyer doesn't just scroll past—they subconsciously label the property as "low value."
We analyzed the data: Listings with professional-grade photography sell 32% faster and for $3,000 to $11,000 more than those with amateur shots. You aren't just taking pictures; you are printing money.
This guide isn't a photography textbook. It’s a field manual. We’re skipping the fluff and giving you the exact settings, angles, and AI tools (like Agent Lens) that top-tier agents use to dominate the market.
1. The Cheat Sheet: Camera Settings
Stop shooting on "Auto." Auto mode tries to balance the light, which usually means blowing out your windows or making the living room look like a dungeon.
Switch your camera to Manual (M) or Aperture Priority (Av) and lock in these settings.
📸 SCREENSHOT THIS: The Golden Settings
Aperture: f/8 - f/11
Why: This is the "sweet spot" for sharpness. Don't use f/22 (it creates blur/diffraction) and don't use f/2.8 (it makes the background blurry). You want everything crisp.
ISO: 100 (Base ISO)
Why: Keeps the photo clean. Higher ISOs (like 1600) add ugly digital "grain" to the shadows.
Shutter Speed: Auto (or variable)
Note: Since your ISO is low and Aperture is small, your shutter needs to stay open longer to let light in. You absolutely need a tripod. Hand-holding is impossible at these settings.
Format: RAW
Why: JPEGs delete data. RAW files let you fix lighting mistakes later.
2. Gear Wars: iPhone 16 Pro vs. DSLR
"Can I just use my phone?"
In 2026, the answer is: Yes, but mostly for social.
Here is when to use which tool:
✅ When to use the iPhone 16 Pro
Social Media: Reels, TikTok tours, and Instagram Stories.
Speed: Rentals or lower-priced listings where speed matters more than perfection.
The Feature: Use the 0.5x Ultra-Wide lens, but be careful. Keep the phone perfectly level to avoid "bending" the walls.
✅ When to use a DSLR / Mirrorless
The Hero Shots: The main MLS cover photo, the living room, and the kitchen.
Why: A full-frame camera captures 10x more light data than a phone. This allows you to edit the windows and shadows without the image falling apart.
The Secret Weapon: Flash. Phones can't sync with big flashes. A DSLR allows you to use the "Flambient" technique (Flash + Ambient light) for magazine-quality color.
3. Lighting: The "Lights Out" Rule
This is controversial, but pros know the truth.
The Problem: Light bulbs are orange (3000K). Sunlight is blue (5600K). When you mix them, your walls look muddy.
The Fix: Turn OFF all interior lights.
Yes, really. Open every blind and curtain. Let natural light flood the room. The result is a clean, bright, and modern look with accurate colors.
Exceptions:
Bathrooms/Basements: If there are no windows, turn the lights on.
Twilight Shots: For that dramatic evening exterior shot, turn ON every light in the house to create a warm, inviting glow against the blue sky.
4. Composition: Shoot from the Hip
The #1 mistake agents make is setting the tripod at eye level (6 feet). This makes you look down on the furniture, making the room look small and the ceiling look low.
The Golden Height: Chest or Doorknob Level (approx. 40 inches).
Shooting lower makes the furniture look proportional and the ceilings look higher. It feels more like you are sitting in the room, which is more inviting.
The Vertical Rule:
Look at the door frames and corners of the room in your viewfinder. They must be perfectly straight up and down. If your camera is tilted up or down even slightly, the walls will look like they are falling over (Keystoning). Use the grid on your screen to line them up.
5. The "Cantaloupe Rule" for Prep
You can't photoshop a hoarders' nest. Send this rule to your sellers 24 hours before the shoot:
"If it’s smaller than a cantaloupe, put it away."
Kitchen: No toaster, no knife block, no soap. Clear counters = more value.
Bathroom: Toilet lids DOWN. No exceptions. Remove shampoos and loofahs.
Pets: Hide the bowls, crates, and toys. Not every buyer is a dog person.
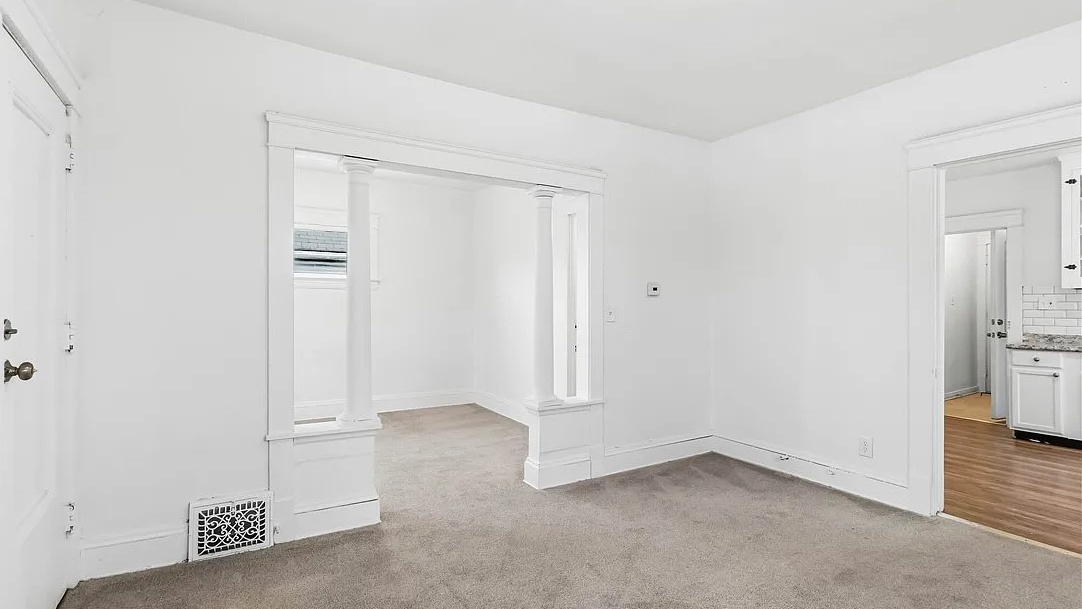
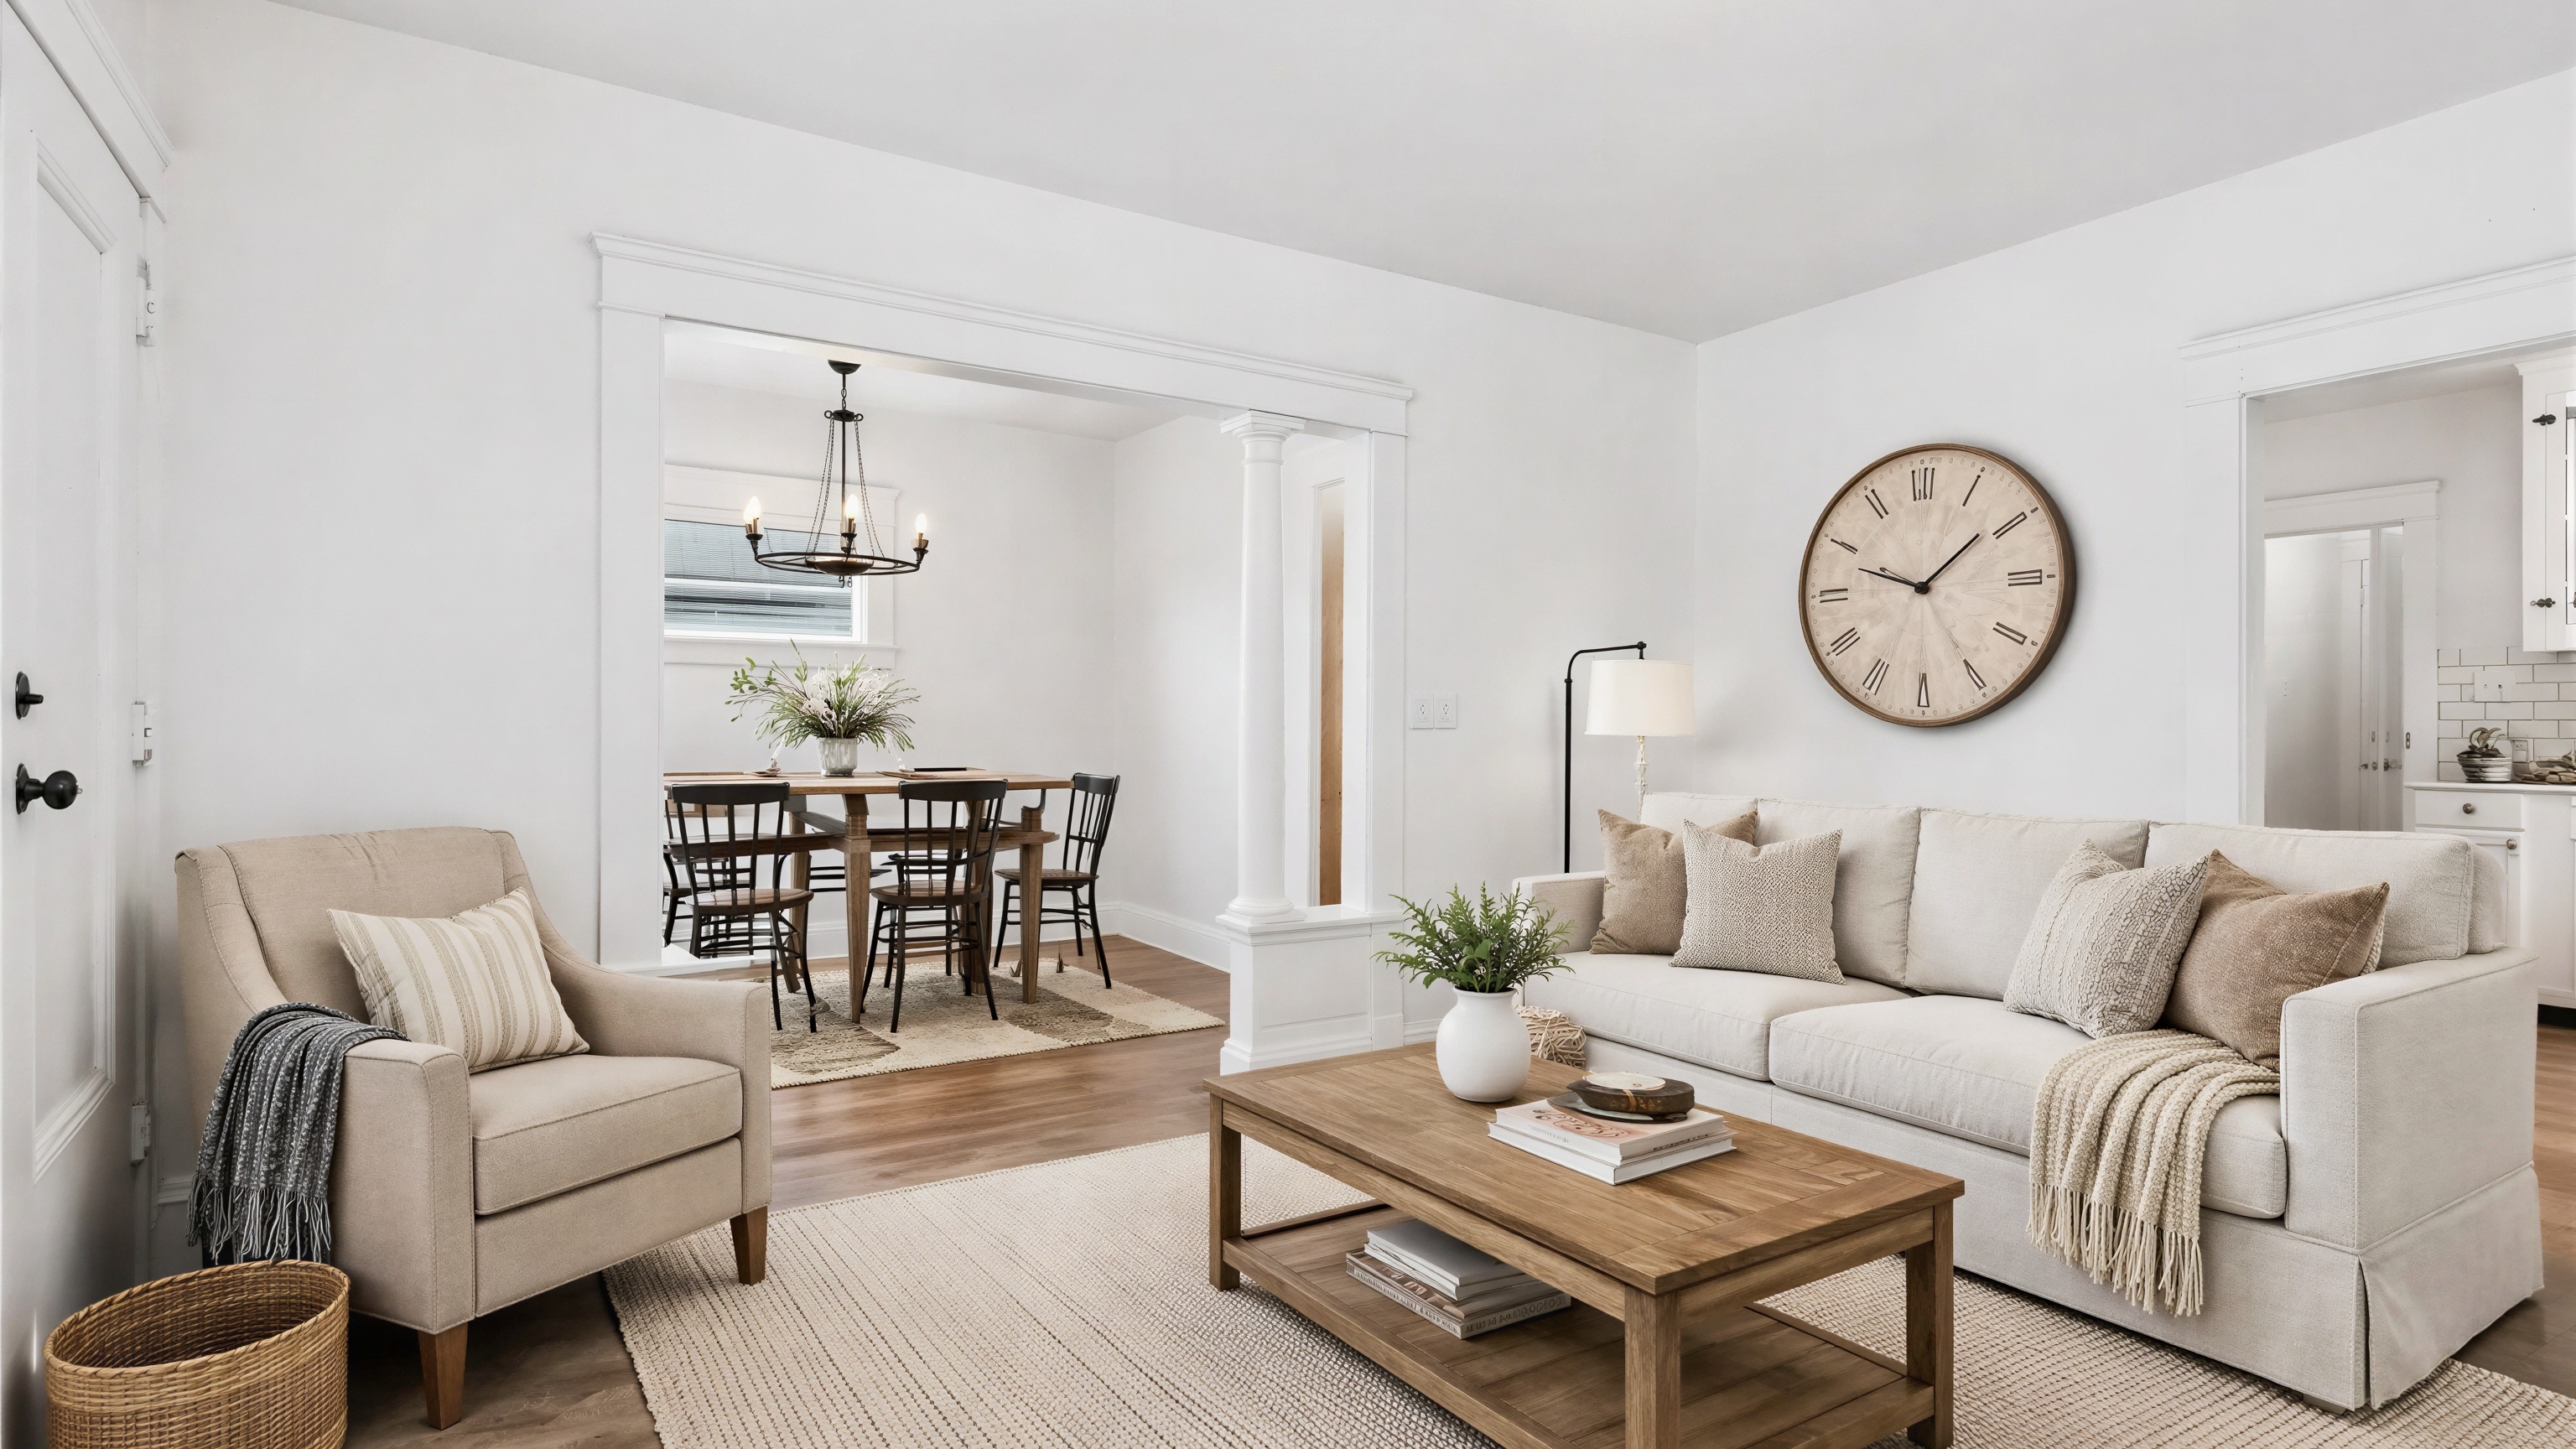
6. The Edit: Solving the "Empty Room" Problem
You followed the rules. The lighting is great. The walls are straight. But the house is vacant.
The Reality: Empty rooms feel small and cold. 90% of buyers cannot visualize where the sofa goes.
The Old Way: Physical staging costs $2,000+ and takes weeks.
The Smart Way: AI Virtual Staging.
This is where tools like Agent Lens have changed the game. You can take a cold, empty living room and furnish it in "Mid-Century Modern" or "Scandi-Minimalist" style in about 60 seconds.
Why it wins:
Cost: It’s roughly $0.10 - $0.33 per image (vs. $40/image for manual editors).
Speed: It happens in your browser instantly.
Realism: Modern AI handles lighting and shadows perfectly, so the furniture doesn't look like a sticker floating in space.
Pro Tip: Be honest. Label the photo "Virtually Staged" in the MLS. Buyers love seeing the potential, but they hate being tricked.
7. Editing Workflow
Don't over-filter. Real estate photos should look natural, not "crunchy."
Verticals: Use the "Transform" tool in Lightroom to fix any leaning walls.
Shadows: Drag the Shadow slider UP (+50) to brighten dark corners.
Highlights: Drag the Highlight slider DOWN (-50) to see the view out the window.
Blue Skies: If it was a cloudy day, swap the sky. Grey skies kill curb appeal.
Conclusion: It's All About ROI
Great photography is the highest ROI activity in real estate. It costs you an extra twenty minutes on site and a few dollars in editing, but it can add thousands to the final sale price.
Don't overthink it. Get the tripod. Shoot at chest height. And for the love of the commission, stop uploading photos of empty, soulless rooms.
Ready to upgrade your listings?
Stop letting vacant rooms drag down your days-on-market stats.
Free Real Estate Tools
Explore our free calculators and AI tools for agents:
Transform Your Listings with AI
Apply professional virtual staging and enhancements in seconds. Start transforming your listings today.
Explore Virtual Staging Options
Start with our most popular room & style combinations: